 |


Fun and unique uses for the Template Creation Wizard!
Not just for labeling, but an all-purpose Print & Design program!
Ever want to create more than labels with SureThing CD Labeler? What about greeting
cards, custom letters and envelopes, postcards, flyers and more? All of this
is possible with SureThing – it's not just a labeling program! In this
issue of CDesign News, we will be using SureThing to create a flyer.
Note: For instructional purposes, we will be creating a Flyer template, but
there are countless other possibilities. With the Template Creation Wizard (only
available in SureThing CD Labeler
Deluxe v.3) you can create an array of objects such as letters, envelopes,
postcards, greeting cards, etc. – all with the ease and quickness of SureThing's
features and support.
Let's begin...
Using the Template
Creation Wizard |
 |
STEP 1 |
Start the Template Creation Wizard |
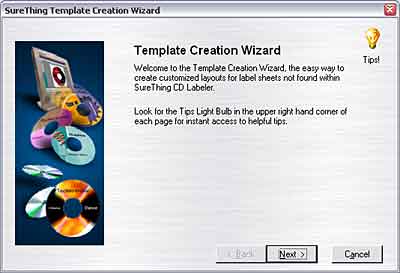
Go to the File menu and select Template Creation Wizard.
Click Next to begin creating your custom template. This will take you
to the Page Layout portion of the wizard... |
 |
STEP 2 |
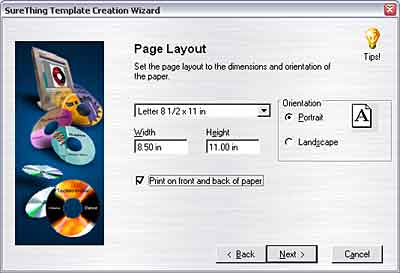
Specify Page Layout options |
For our flyer we will be using Letter size paper, or in
other words 8 ½ x 11 inches. Under 'Orientation', choose Portrait.
Check the box for Print on Front and Back of paper. Now click Next
to go to the Label Template portion of the wizard.... |
 |
STEP 3 |
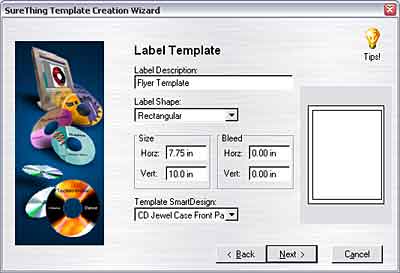
Specify Label Template options |
For 'Label description' type in Flyer Template (or whatever
text best describes its use). For 'Label Shape' choose Rectangular. For
'Template SmartDesign' you can either choose to leave this as Other (if
you choose Other, skip to step #7) or choose CD Jewel Case Front Panel
(recommended). For 'Size Horizontal' type 7.50 in and for 'Size Vertical'
type 10.0 in. Leave 'Bleed' at 0.0 in and 0.0 in. Click Next to Continue. |
 |
STEP 4 |
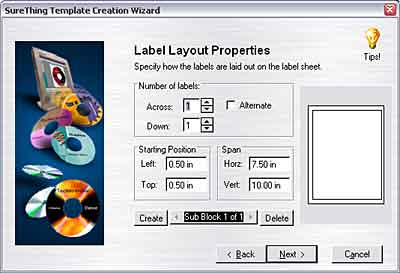
Label Layout Properties |
You should now be at the Label Layout Properties screen.
For the purposes of this flyer template, you won't need to make any alterations
because the label size essentially equals the page size. But keep in mind
that with many types of templates this will not be the case. Click Next
to continue to the Save Template portion of the wizard. |
 |
STEP 5 |
Enter a template name |
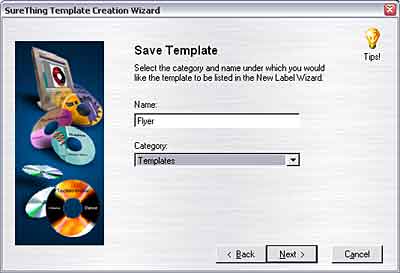
Type the name "Flyer" and select the category
Templates. Click Next to go to the Finish Screen. |
 |
STEP 6 |
Finish the wizard |
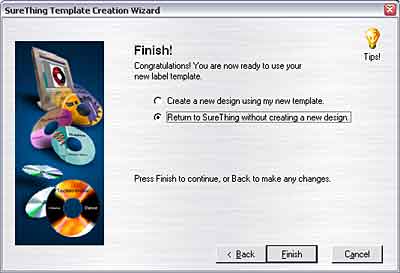
Choose the Return to SureThing without creating a new
design option. Click Finish. |
 |
STEP 7 |
Now to begin working on your flyer... |
Go to the File menu and select New. Under Product Types
choose Templates. Under Label Products choose Flyer. Click Next and Next
again. |
 |
STEP 8 |
Select a SmartDesign |
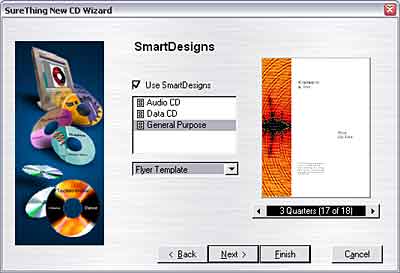
At the SmartDesigns screen, check the Use SmartDesigns
box and select General Purpose.
Note: SmartDesigns may or may not be appropriate for some designs.
Hit Finish. |
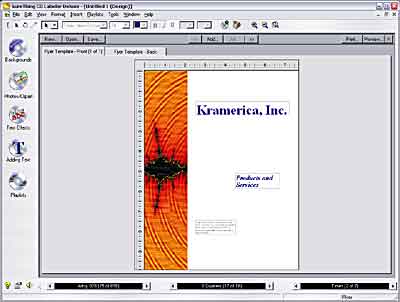 |
Congratulations, you have successfully created your very
own Flyer Template. At this point, you can begin editing it just as you
would other label designs – edit the text, change font, size, color,
etc., and insert graphics and clipart. |
|